Image 1: Relative Times Chooser
McIDAS-V makes use of a timeline widget in a variety of areas. The timeline allows for viewing the temporal distribution of a set of times and selecting them. There can also be a date selection mechanism (see below) that allows for selecting based on a range, interval, etc. The Match Time Driver checkbox automatically selects the dates and times that match closest to the time driver, assuming a time driver has been set. For more information, see Time Matching.


The date selection settings can be accessed by right-clicking in the timeline to show a popup menu. The menu allows for defining these settings through a Properties dialog or setting them directly with sub-menu choices. The date selection settings are listed below.
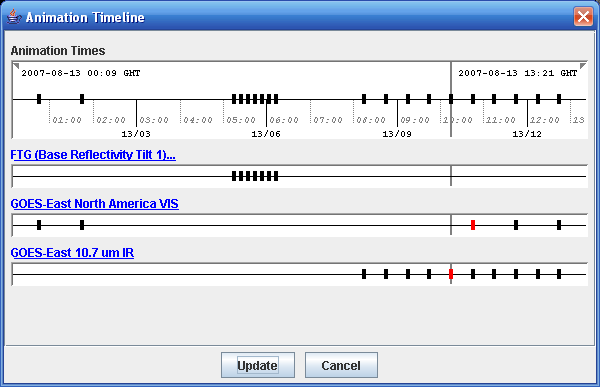
The View Managers use the timeline to show the animation time set and the times of the different displays. Here, the timeline is used for informational purposes and is not used to select times. This can be shown through the View->Animation Timeline menu from the Main Display window. The gray timeline represents non-visible displays. Double clicking in a timeline sets the animation step to that time.

The timeline supports a variety of navigation mechanisms:
| Event | Action |
| Left Mouse Drag | Change visible range or date selection range. |
| Left/Right Arrow | Change visible range. Use Ctrl+Key to change date selection. Use Shift+Key to use larger increment. |
| Up/Down Arrow | Zoom in/out visible range. Use Ctrl+Key to change date selection. Use Shift+Key to use larger increment. |
| Mouse Click; Control-Click; Shift-Click | Select individual times, multiple times or a range of times |
| Shift-Drag | When not showing the date selection mechanism you can choose a range of times with shift-drag |
| Right Mouse Click | This brings up a popup menu that allows you to show the properties dialog, go to particular current date ranges, set the interval, range, skip factor and count of the date selection. |