AERI Profiling Module Pack-up
Tools needed
- Ladder
- Large flathead screwdriver
- Hex driver set
- Wrenches
- Ziplok bags for storing screws
- Tape
- Cable ties
A. Front-end
- Power OFF the AERI
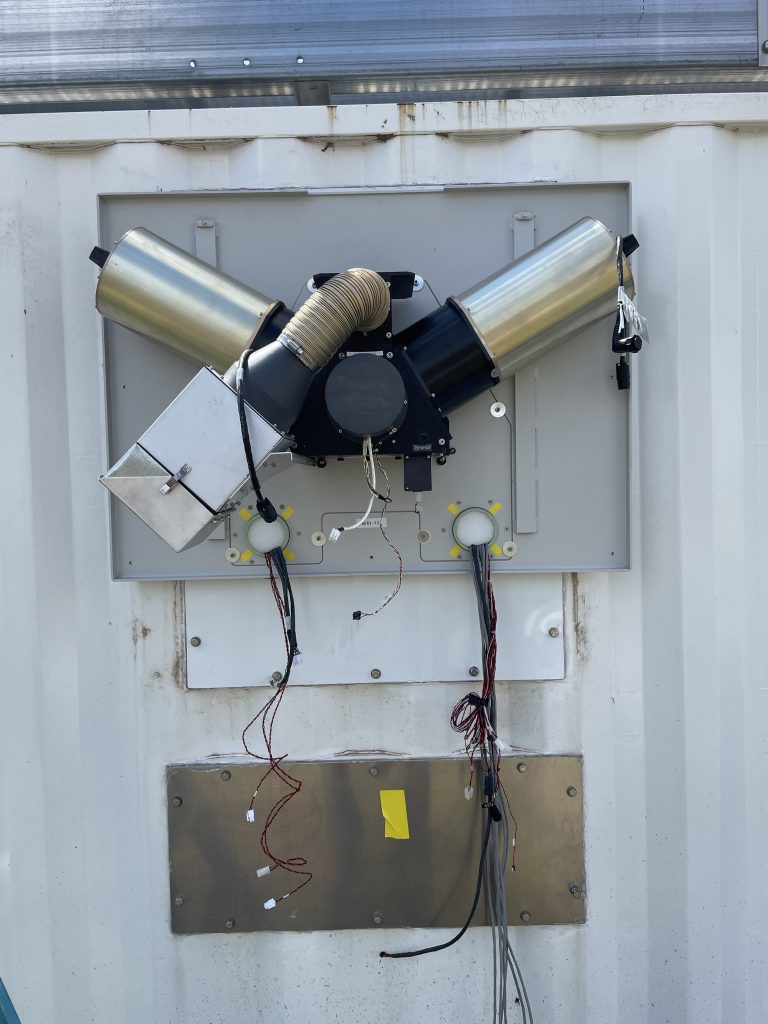
- Remove the front-end front-panel
- Disconnect all accessible connectors to the front-end
- Remove the front-end enclosure: unscrew the 5x #10 hex screws
- Remove the hex fan assembly: loosen the hose camp going into the hex, and unscrew the 4x #8 hex screws under the hex; disconnect the FAN IN cable from the back of the fan, if not done so already
- Remove each {blackbody + black extension tube + 1.5′ extension cable} assembly: only need to unscrew the 4x #8 hex screws where the black extension tubes meet the hex. Place a red aperture cover (if available) on each blackbody to protect it; otherwise tape over the aperture
- Remove the trapezoidal ‘hex’: unscrew the 4x nuts
- Remove the front-end backplate: unscrew the 8x 1/4″ hex screws + fender washers
- Remove the trapezoidal bulkhead plate: unscrew the 18x hex screws. IMPORTANT: use a straight hex driver (not balled!) because a balled driver could strip the shallow hex screws. IMPORTANT: be sure to unscrew the 18 hex screws (set of 6 around each tube) and not the set of 4 screws around tube, which hold the optical alignment flanges
- Store all of the removed components inside the profiling module. Screws can be placed in bags and taped to the appropriate component. The hex, blackbodies, and hex fan assembly are somewhat fragile, so be sure to protect them during shipping
B. Back-end
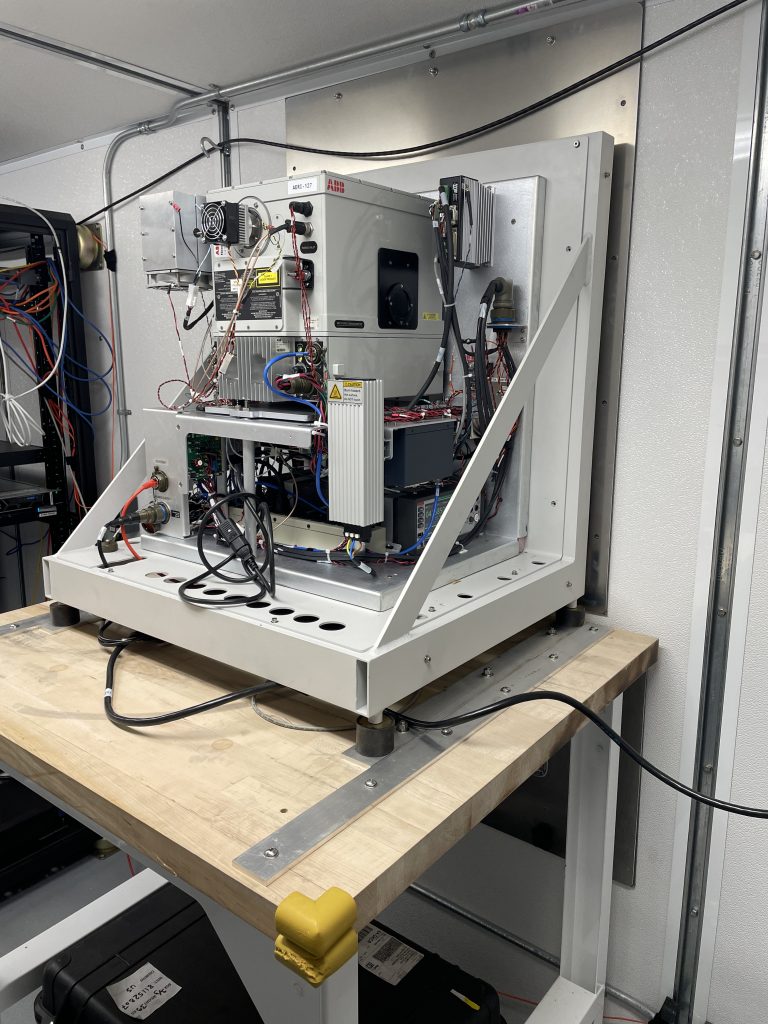
- Make note of / label the wiring configuration, particularly the ethernet ports used on the server for connecting the 1) AERI and 2) iBootBar. Disconnect the power and ethernet cables. Store cables, iBootBar in the black accessories case
- Remove the bolts securing the AERI rail to the table, so that the AERI can slide
- Slide the AERI backwards to bring all of the instrument inside the container. The tubes may need help to get pushed through the rubber gasket. Be careful not to damage any of the front-end wiring, especially along the metal edges
- Bring all of the wiring inside through the plate and rubber gasket. Be careful not to damage any of the wiring, especially along the metal edges. Secure the wiring with cable ties or tape to prevent any damage during transport
- Line up the rails with the thru-holes in the table for the ‘travel’ position and replace the 6x bolts to secure the instrument on the table
C. Container
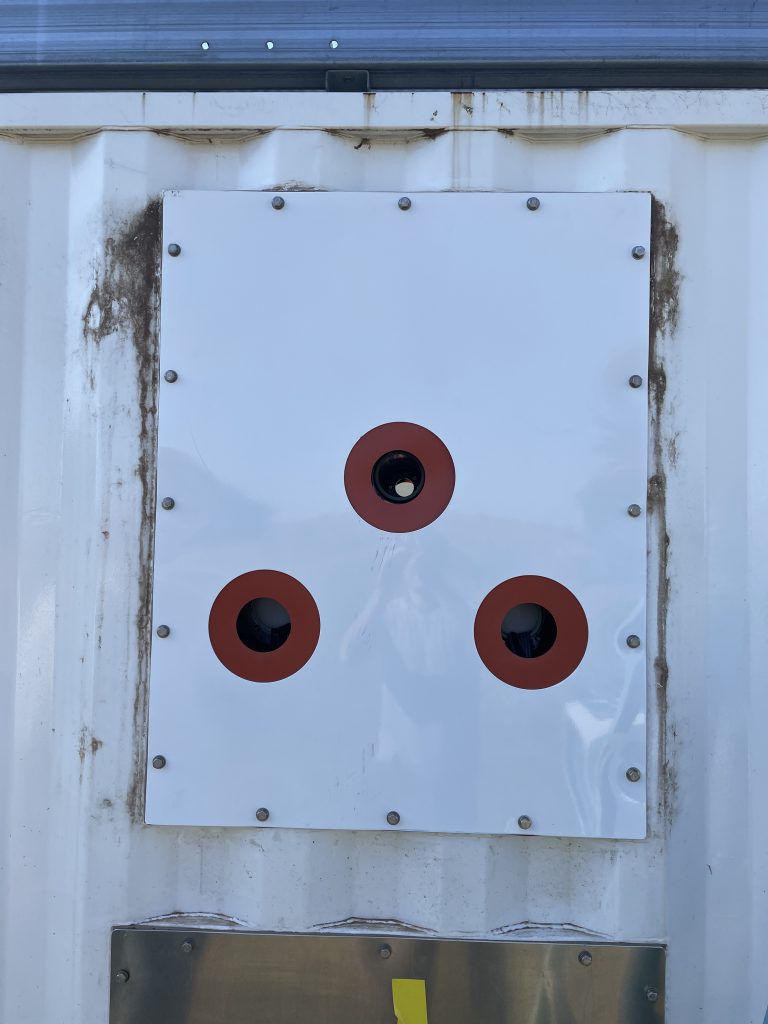
- Remove the exterior plate (with the 3 large holes) as well as the rubber gasket. Store inside the profiling module; protect the gasket from any dirt & debris; check the gasket for tears or damage – replace with a spare if needed
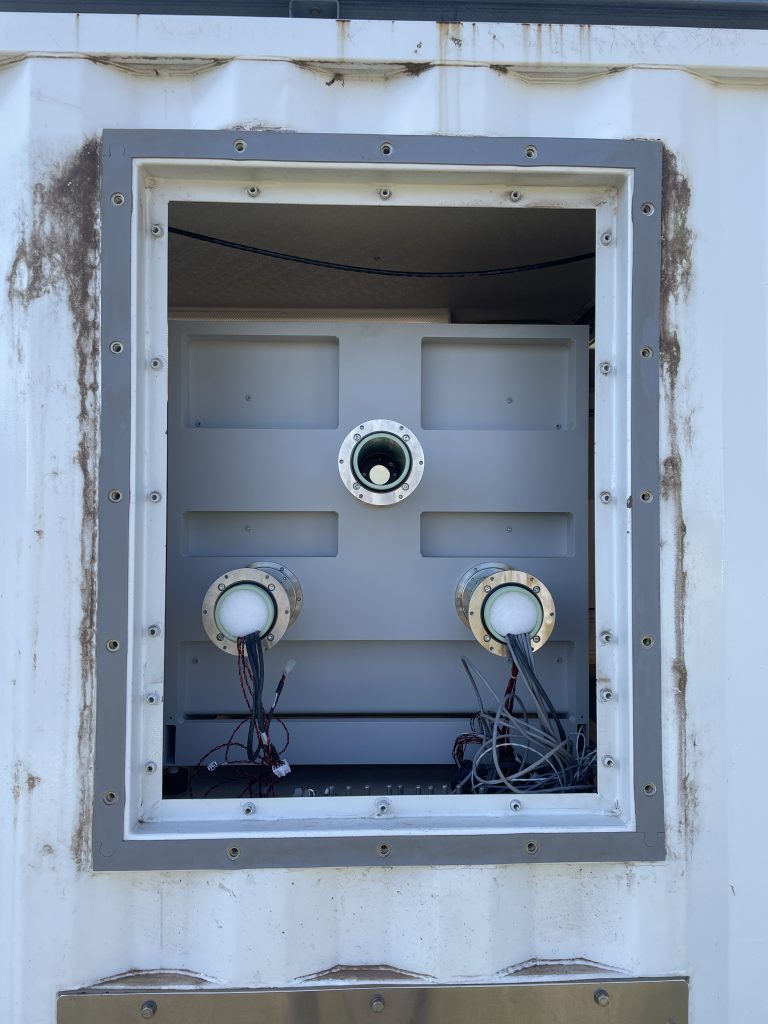
- Install the blank shipping cover over the AERI port
- Ensure that items won’t shift and impact the AERI back-end during shipping. The back-end cover may be installed for additional protection


