AERI 3rd Blackbody Calibration with External Controller
Equipment Required
- Large phillips screwdriver
- Small phillips screwdriver
- Ball driver set
- 3rd Blackbody
- 3rd Blackbody breakout cable
- Blackbody temperature controller
- Extension cord
Precaution
- Verify that the red aperture cover of the 3rd blackbody has been removed prior to installation
- Verify that the interior fan power cable is disconnected prior to running the test
Procedure
Hardware setup
- Set up the blackbody temperature controller to begin heating the 3rd blackbody
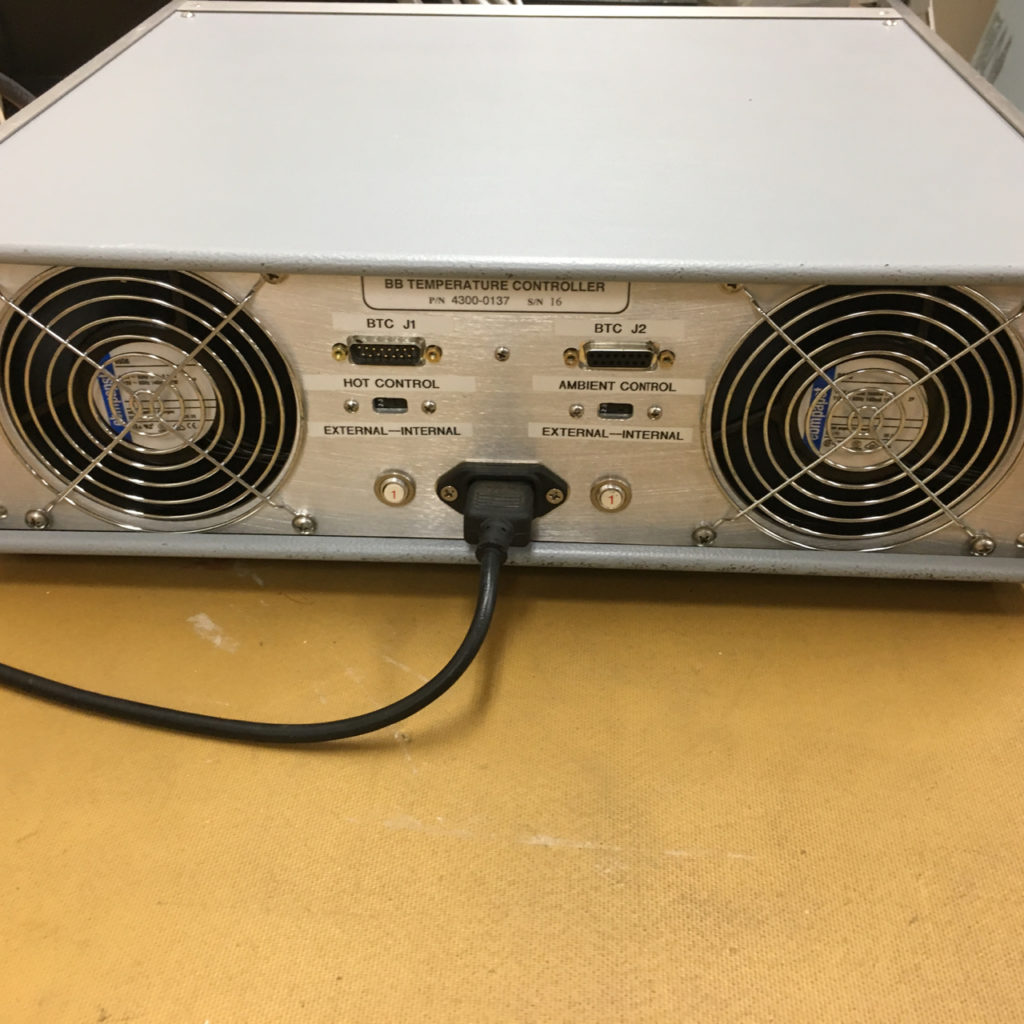
- Locate the 3rd blackbody and the blackbody temperature controller (Fig. 1)
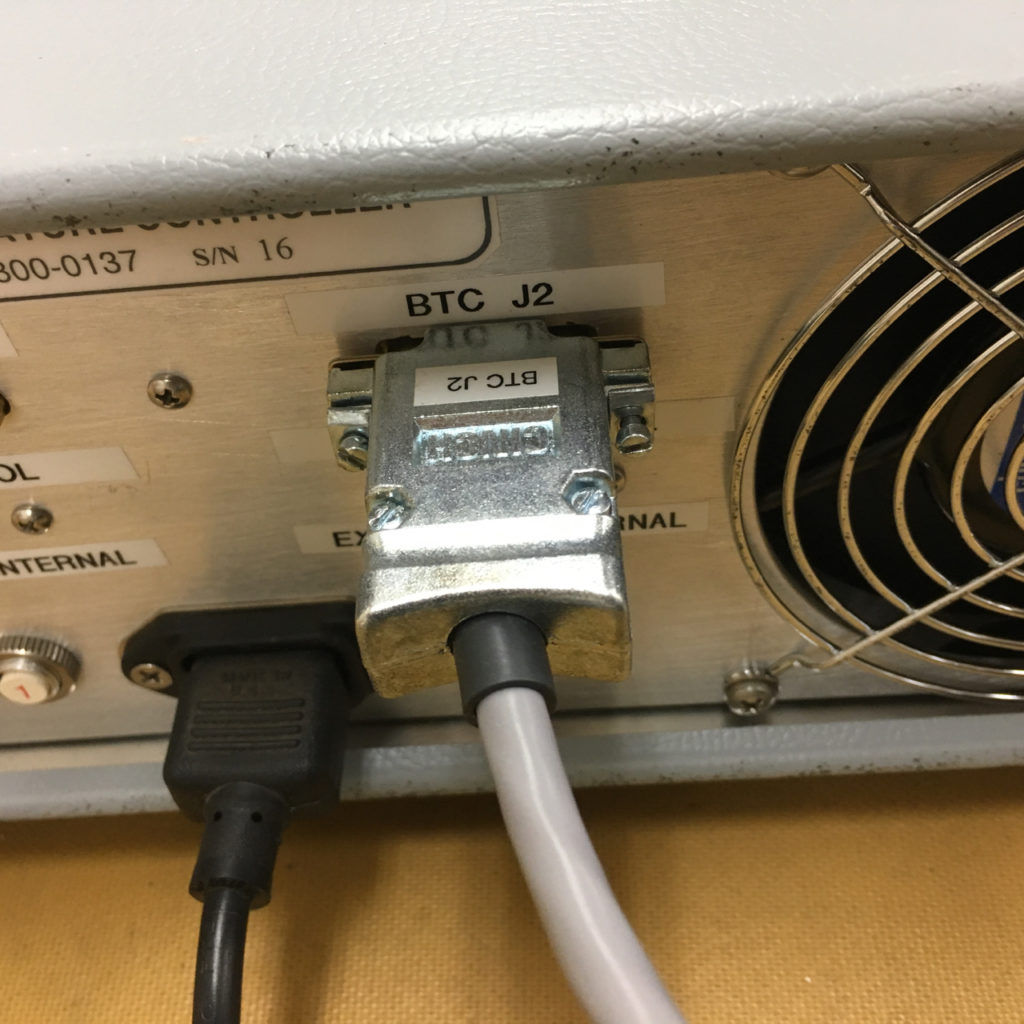
- Connect the BTC J2 cable into the BTC J2 port of the back of the temperature controller (Fig. 2)
- Connect the 3rd Body connector on the other end of the cable to the 3rd blackbody
- Connect the power cable to the temperature controller and connect to power. Use an extension cord that will be able to reach to the AERI front-end
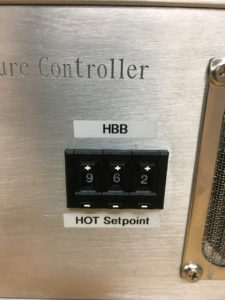
- Ensure that the HOT Setpoint thumbwheel is set to 962 (45°C) (see Fig. 3)
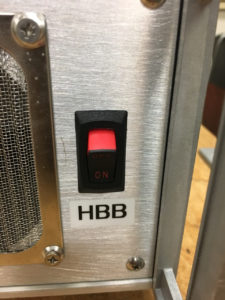
- Ensure that the HBB controller switch is ON (Fig. 4)
- Verify that the temperature controller is ON (see fans in the back). The 3rd blackbody should now be heating to the setpoint.
- Power OFF the AERI instrument using the power bar in the back-end
- Remove the front panel and the front-end enclosure from the AERI front-end (see instructions here)
- Verify that the interior fan power cable is disconnected
- Power ON the AERI instrument
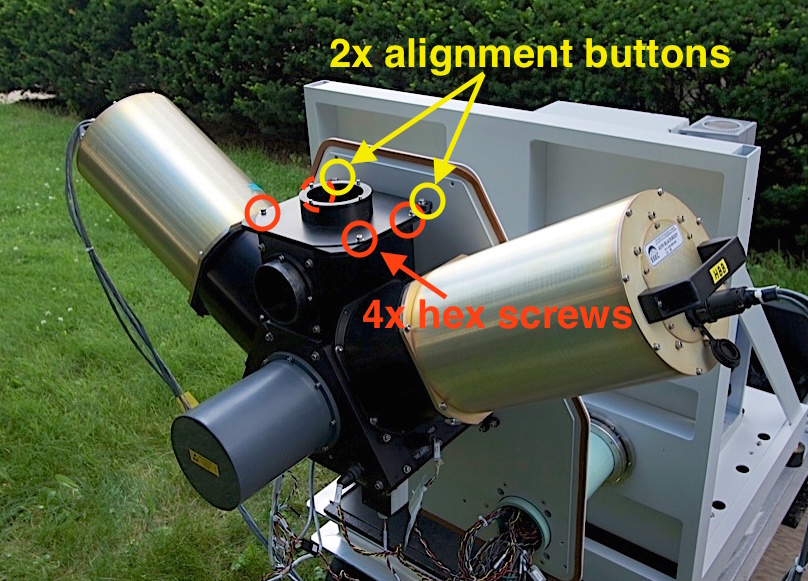
- Remove the sky view aperture plate (four #8 hex screws) (Fig. 5).
- Install the 3rd blackbody onto the sky view port
- Remove the red protective aperture cover from the 3rd blackbody (Fig. 6).
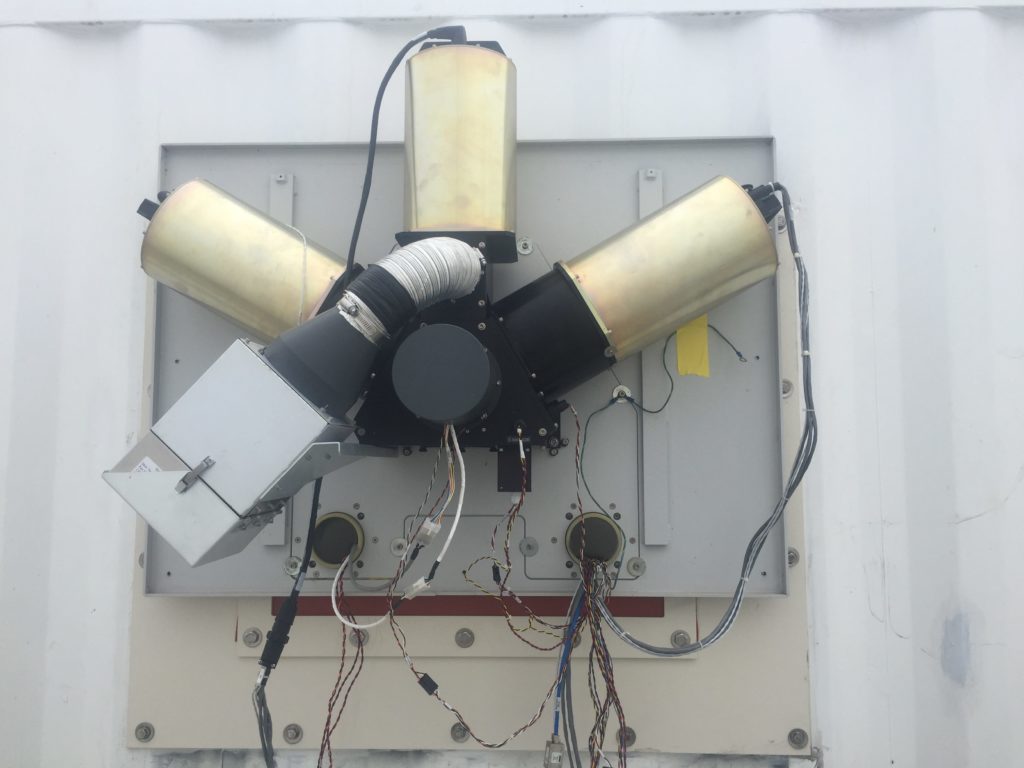
- Place the 3rd blackbody onto the sky view port (Fig. 7). The temperature controller will need to placed nearby (on the roof of the container). It’s OK to temporarily disconnect the cables to the 3rd blackbody and temperature controller for this step
- Attach the 3rd blackbody with 2-4 screws – but do not tighten yet
- Push the 3rd blackbody up against the optical alignment buttons on the back of the sky view port so that it’s optically registered
- Tighten the screws to secure the 3rd blackbody
Software setup
- Stop data collection on the AERI
- Press ctrl-c up to 3 times in the black Cygwin window to terminate ingest, then close the FTSW window
- Manage the data directories
- Rename c:\AEYYMMDD
- cd /cygdrive/c
- mv AEYYMMDD AEYYMMDDA
- Rename c:\ftp\AEYYMMDD
- cd /cygdrive/c/ftp
- mv AEYYMMDD AEYYMMDDA
- Delete (or rename) c:\temp
- cd /cygdrive/c/temp
- rm *
- (or mv temp tempA to continue afterward where ingest left off)
- Delete c:\E-AERI\Data\HouseKeeping.hk
- cd /cygdrive/c/E-AERI/Data
- rm HouseKeeping.hk
- Rename c:\AEYYMMDD
- Change to 3rd body breakout configuration
- cd \\config
- change_config_to 3body
- cat mirror.beg (to verify new correct mirror program is selected)
Running the test
- Run Ingest.bat to start the 3rd blackbody test
- Run for at least 1.5 hours
- To terminate the test, press ctrl-c up to 3 times in the black Cygwin window, and close the FTSW window
Software packup
- Manage the data directories
- Rename c:\AEYYMMDD
- cd /cygdrive/c
- mv AEYYMMDD AEYYMMDD_3body
- Rename c:\ftp\AEYYMMDD
- cd /cygdrive/c/ftp
- mv AEYYMMDD AEYYMMDD_3body
- Delete (or rename) c:\temp
- cd /cygdrive/c/temp
- rm *
- (or mv tempA temp to continue afterward where ingest left off)
- Delete c:\E-AERI\Data\HouseKeeping.hk
- cd /cygdrive/c/E-AERI/Data
- rm HouseKeeping.hk
- Rename c:\AEYYMMDD
- Change to normal science configuration
- cd \\config
- change_config_to RS_3
- cat mirror.beg (to verify new correct mirror program is selected)
- Send the directory c:\ftp\AEYYMMDD_3body to the mentor for analysis
Hardware packup
- Power OFF the instrument
- Remove the 3rd blackbody and the temperature controller
- Replace the red protective aperture cover onto the 3rd blackbody (Fig. 6)
- Re-install the sky view aperture plate (Fig. 5)
- Attach the aperture place the four #8 hex screws – but do not tighten yet
- Push the aperture place up against the optical alignment buttons on the back of the sky view port so that it’s optically registered
- Tighten the screws to secure the aperture plate
- Re-install the front-end enclosure and the front-panel on the AERI front-end (see instructions here)
- Power ON the instrument and resume normal data collection
Figure 1. Back view of external blackbody temperature controller
Figure 2. BTC J2 connector
Figure 3. HOT setpoint thumbwheel
Figure 4. HBB controller power switch
Figure 5. Four hex screws for the sky view aperture plate (red) and two optical alignment buttons (yellow)
Figure 6. 3rd blackbody with red aperture cover
Figure 7. AERI front-end in 3rd blackbody configuration

